
Create a Teams connection
A Teams connection is a voice route on the Teams side. It carries calls between Teams clients and Live Hub, and once it exists you can use it on the Routing screen exactly as you would a SIP connection.
Connect your tenant first. See Connect a Teams tenant in Live Hub.
To create a Teams connection:
-
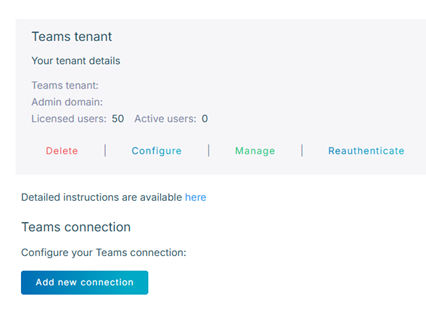
In the Navigation pane, expand Voice channels, and select Microsoft Teams.
-
Under Teams connection, click Add new connection.
-
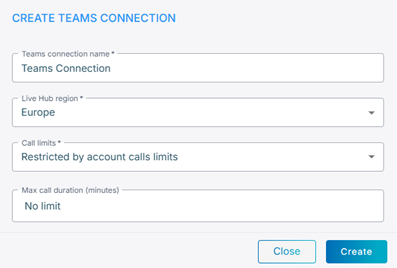
In the 'Teams connection name' field, enter a name.
-
From the 'Live Hub region' drop-down list, select the region your Live Hub voice infrastructure runs in. See Global region support.
-
In the 'Calls limits' field, select how many calls the connection may carry.
-
In the 'Max call duration' field, enter the longest a call may run, in minutes.
The lower of the two limits applies, whether this setting or the account's. With 30 minutes set on the account and 40 here, calls end after 30 minutes. See Configure maximum call duration.
-
Click Create.
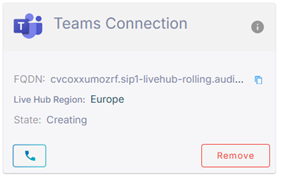
The connection appears in the Creating state.
-
Wait for the connection to be created, which takes up to 10 minutes.
The state then changes to Active.
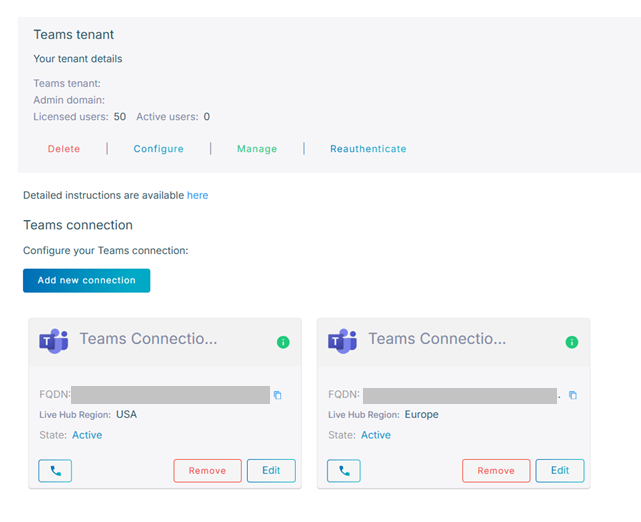
Once the connection is Active, continue with Assign phone numbers for your Teams users.
Troubleshooting
If creating the connection fails, hover over the 'State' field to see why.
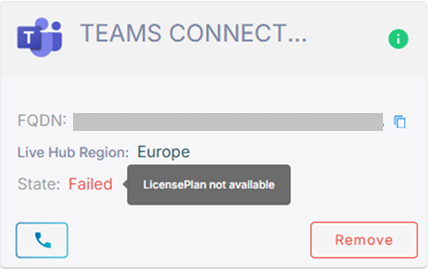
"License Plan not available" means the account has no free eligible Office 365 license. See Verify license availability.
If this tenant was connected to Live Hub before, clean up the residual configuration, as described in Disconnect Teams tenant, and check that only one Live Hub account is connected to it.
After you correct the problem, click Remove on the Teams connection card, and then create the connection again from the beginning.